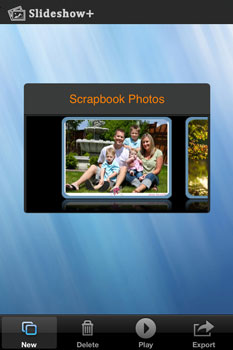
Create Memorable Wedding Slideshow with DVD Photo Slideshow
My fiancée and I have decided to host our wedding ceremony in 2 months. As the exciting day approaches, we do anticipate a remarkable wedding, with best wishes from our families and friends and sincere marriage vow from the better half. We have known each other for more than 4 years and gone through too much in the meanwhile. We have also reached a consensus that the wonderful memories should be recorded in remembrance of our everlasting love.
So what is the best way to get our good old days recorded? As a digital photography fan, the first idea that came to my mind was to burn all our photos into a DVD disc. I then started to collect and sort all our photos and saved them to a folder in my computer. All of them took up to 2GB of my hard drive space. I inserted a DVD disc into my computer and began to burn the photos with the built-in DVD burner in my Windows 7 system. The burning process went very smoothly, yet the result was not that satisfying as expected. This idea failed and I had to give it up.
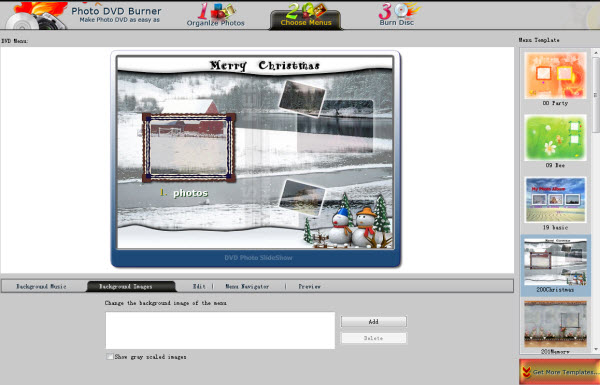
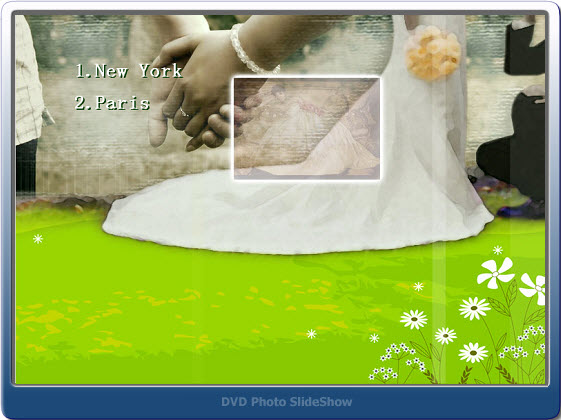
Actually, what I had expected was a DVD slideshow with all our photos. When playing the DVD on TV with a DVD player, what needed to be shown in front of us was a dynamic photo slide show with theme songs and sort of decoration effects. At this point, the DVD created using the built-in DVD burner in my computer was just too plain and monotone.
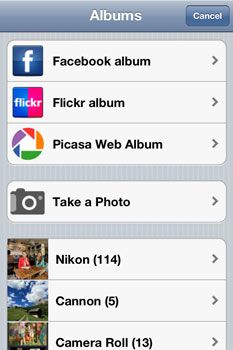
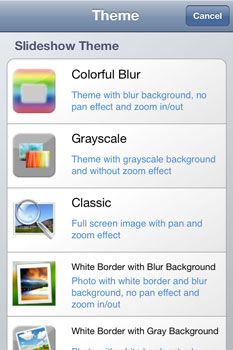
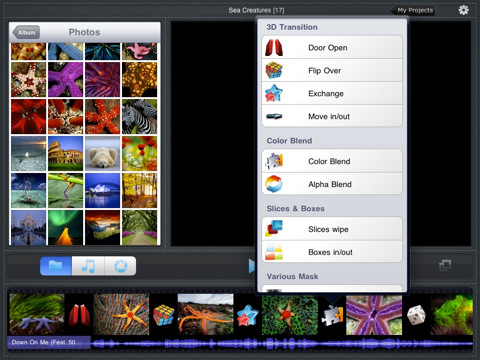
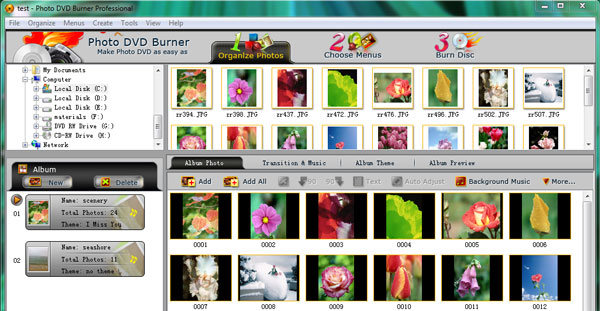
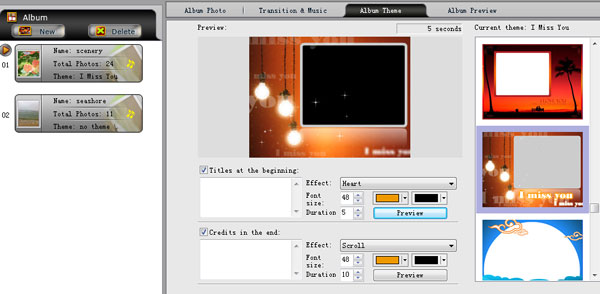
After doing a search for DVD slideshow software on Google for some time, I finally got the software I really needed. It was DVD Photo Slideshow developed by Socusoft. I felt so happy as this piece of slideshow software happened to have wedding themes. What’s more, it let me put photos from different folders into different albums, in which way I could better organize our photos. For example, I could create an album with all my fiancée’s photos, another album with all my photos, and a third album with all our photos. Also, I could make albums by genre of place, year, festival, etc. In total, there were 76 themes that could be used to decorate the albums. Several of them could be applied to a wedding slideshow. Since I was going to make a DVD slideshow, I certainly needed to choose a DVD menu that best fitted the wedding slide show. And there were also wedding menu templates in DVD Photo Slideshow. To be honest, the cool album themes and DVD menu templates were the primary reason why I chose DVD Photo Slideshow among a lot of other similar program.
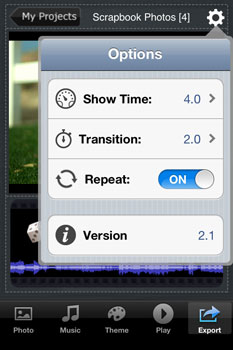
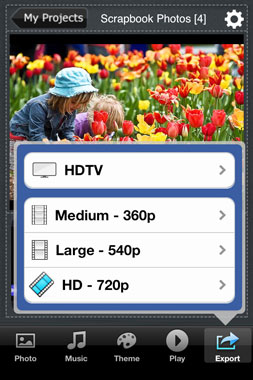
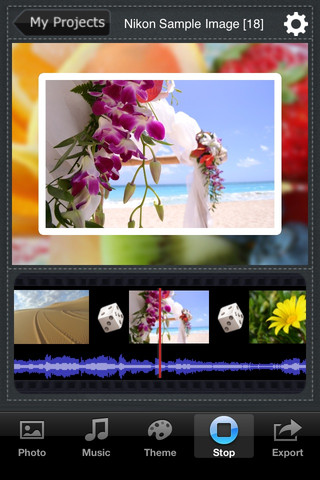
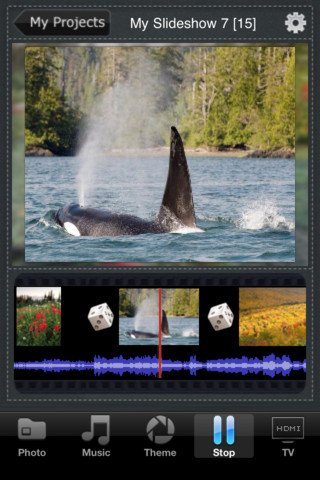
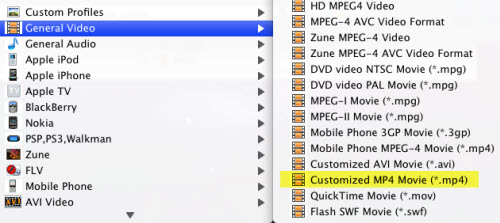
Like other DVD slideshow programs, DVD Photo Slideshow can create a slideshow with background music, transitions, Pan&Zoom, art clips, text, subtitles and more. I’m not going to elaborate them here. The last point is that DVD Photo Slideshow also lets users save the slideshow project as a video files and it offers optimized presets for popular portable devices such as iPad, iPhone, PSP, Zune, Creative Zen, Mobile Phone and more. As far as I am concerned, I am going to output all my albums in DVD Photo Slideshow to video files for viewing on my newly purchased Galaxy Tab. Hope the output quality won’t let me down.
At last, I’d like to say when I presented the slideshow DVD to my fiancée; she was very happy and truly touched by me. All my efforts paid off.